The Displacer to my brass engine finished,please comment

Discussion on Stirling or "hot air" engines (all types)
Post Reply
larsinist
Posts: 123
Joined: Sat Mar 08, 2014 10:01 am
Location: Northern Norway

The Displacer to my brass engine finished,please comment

Post by larsinist »

Hey

I just made finished the Displacer, and i think it looks good, i made a lid also, that i am thinking to gas weld to the displacer.can i use som kind of silicone??
Displacer.jpg
Displacer.jpg (104.56 KiB) Viewed 4287 times
Here this is how it looks like when mounted
displacer and lid.jpg
displacer and lid.jpg (98.3 KiB) Viewed 4287 times
Here are the gap bet between the cylinder walls,and the Displacer,i think its good,its about 1.5mm
Displacer gap.jpg
Displacer gap.jpg (52.1 KiB) Viewed 4287 times
larsinist
Posts: 123
Joined: Sat Mar 08, 2014 10:01 am
Location: Northern Norway

Re: The Displacer to my brass engine finished,please comment

Post by larsinist »

I am thinking to weld where the red ring is
displacer and lid.jpg
displacer and lid.jpg (92.42 KiB) Viewed 4286 times
Ian S C
Posts: 2218
Joined: Thu Dec 02, 2010 5:15 am
Location: New Zealand

Re: The Displacer to my brass engine finished,please comment

Post by Ian S C »

Top photo; I would make the wall thickness about half of what it is. Next; I would make the displacer the other way round, with the cap at the rod end, and make the cap from aluminium, put a disc on the end of the rod, and push this half way up the displacer, it separates the hot air at one end from the less hot air at the other. I hold the aluminium plug in with shaft lock Loctite. Next; clearance is good. Last; if the wall thickness is as thin as it should be, about .25 mm to .30 mm, you'll have to be a pretty clever welder.
It must be thin for (a) lightness, and (b) it reduces heat conduction. Your displacer should work as is.
Ian S C
larsinist
Posts: 123
Joined: Sat Mar 08, 2014 10:01 am
Location: Northern Norway

Re: The Displacer to my brass engine finished,please comment

Post by larsinist »

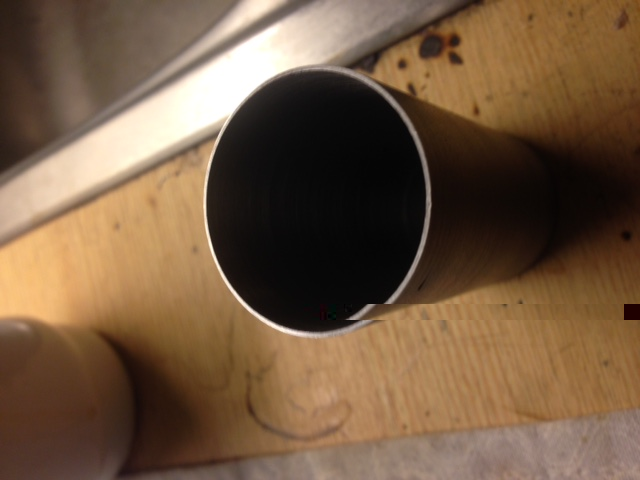
Thanks for reply Ian S C, i have startet to do what you said, i have shaved about 1.3mm of the inner walls of the Displacer, and now it is about 0.6mm thick.i need get it in the 4 jaw chuck if you mean that i need to have thinner Displacer walls..i will make the lid of aluminium and i am thinking to gas weld my center hole, cause you said, that it would been best if the piston rod is mount in the lid/aluminium lid..
Displacer cut.jpg
Displacer cut.jpg (59.06 KiB) Viewed 4269 times
And by put a disc on the end of the rod,are you meaning a lid that goes inside of the Displacer, so it will give the rod support, and so it will be more easy to allign??,and i should build the disc of aluminium??
What you think??
All comments will be fantastic,i try to do my best here,and i will use some time on this machine, so i learn more, and learn how my lathe works!!

Lars
larsinist
Posts: 123
Joined: Sat Mar 08, 2014 10:01 am
Location: Northern Norway

Re: The Displacer to my brass engine finished,please comment

Post by larsinist »

i just made the new aluminium lid, i got the aluminium from an old moped piston,it is a perfect fit, and i shall glue it with shaft lock Loctite,is that right??, will that loctite,stand alot of heat??
alu-lid.jpg
alu-lid.jpg (73.75 KiB) Viewed 4267 times
Ian S C
Posts: 2218
Joined: Thu Dec 02, 2010 5:15 am
Location: New Zealand

Re: The Displacer to my brass engine finished,please comment

Post by Ian S C »

Lars, yes the disc stabilises the rod, I'd make it from a thin bit of steel, and silver solder/braze it on the end of the rod. Make sure you can seal the rod in the end cap.
You are doing well. Ian S C
Post Reply