I've made a couple of runners out of junk (vids in my "Hi" post), and am comfortable enough to try something a bit better. I have a new project I'm starting this week, an LTD powered by the heat from a fresh baked bagel right out of the oven, and of course with a bagel shaped flywheel.
I manage a cafe that has a bakery, and we have batches of hot bagels coming out of the oven all morning long. They are baked at 450F, and retain a large portion of that heat for longer than the period between batches coming out of the oven. I'm pretty confident I can harvest enough of this residual heat to make a strong runner.
My plan is to use an insulated box a single bagel would be placed in when a batch is brought out, with hanging hinged doors on two sides so the bagels can be pushed through easily. The SS hot cap for the engine would be placed in the top of this insulated box. Cold cap will be either aluminum or brass. The displacer assembly will be a glass tube with graphite guide shaft and painted balsa wood on a brass rod. The power piston will be an airpot actuator. Crankshaft will be a graphite rod with point bearings. Con rods will be carbon-fiber cut from old fishing rods. Flywheel will be made to look like a sesame seed bagel, with rare-earth magnets embeded. A combination of copper coils and a joule-thief circuit will be used to power two LEDs lighting the words "Fresh Hot" above the spinning bagel flywheel.
Does anyone think this will run? Think it can generate enough current for one or two LEDs? (even if it strobes, that would be OK)
Any suggestions as to better materials? I plan on starting on the rough-out over the next few days, will post some design renderings and photos of the build.
LTD Power by Bagel
LTD Power by Bagel
If I seem argumentative, I apologize. I like to explore many sides of an issue.
I love to be shown I'm wrong, after all, Dad always said to learn from my mistakes!
I love to be shown I'm wrong, after all, Dad always said to learn from my mistakes!
Re: LTD Power by Bagel
I think it'a possible! I've seen a few LTD engines with small slternators on them.
Here's a coke can one I built, with better meterials I think it should be possible:
[youtube]http://www.youtube.com/watch?v=e5po6XqyR0g[/youtube]
Here's a coke can one I built, with better meterials I think it should be possible:
[youtube]http://www.youtube.com/watch?v=e5po6XqyR0g[/youtube]
http://www.scraptopower.co.uk My web site, Stirling engines and AE stuff.
Re: LTD Power by Bagel
For the crankshaft I would suggest that it be made of steel,or some metal,with pointed ends, and the bearings of little blocks of graphite with little dimples to take the ends of the shaft. Are your making the displacer in a similar fashon to the ones that run on a bowl of hot water? that would give you a wider temperature range. Ian S C
Re: LTD Power by Bagel
Thanks for the replies, and encouragement.
@Junkie: Have you tried to use a joule-thief in any of your LED circuit attempts? I'm curious if one will help, or if they create extra drag.
@Ian: Thanks for the tip on the crankshaft, I guess graphite is too brittle for use as the shaft itself? I've also considered using ferrofluid bearings, but I think the KISS rule applies there. Yes, the design is fat pancake, with the hot/cold plate diameters being about 1/2" dia larger than our bagels.
I'm considering using a CPU heatsink on the cold cap, but I think I'll just use thermal paste and clamp it first, till I see if it will make much difference. My soldering skills are pretty much limited to either electrical wiring or copper pipe, so I'll be trying to stick with mechanical connections as much as possible. I do have a friend in the neighborhood who is a welder, and he's always offered help on other projects, so I've got a fall-back in case I fail.
If I seem argumentative, I apologize. I like to explore many sides of an issue.
I love to be shown I'm wrong, after all, Dad always said to learn from my mistakes!
I love to be shown I'm wrong, after all, Dad always said to learn from my mistakes!
Re: LTD Power by Bagel
Got the design work mostly done. Basic LTD design borrowed from various online versions I've seen. Laid it all out in Povray since I don't have CAD, gives a more realistic look to the computer model as well (though I forgot to add sesame seeds, so the bagels look kinda like donuts, oh well).
Here's a couple of animations:
[youtube]http://www.youtube.com/watch?v=FXp9dJfdvn0[/youtube]
[youtube]http://www.youtube.com/watch?v=YWNVvK3JEPU[/youtube]
I decided to add an acrylic/glass panel to the front of the bagel box so the power source is visible. The only part I'm having trouble sourcing is the acrylic/glass displacer cylinder, but I'll scrounge it up somewhere. Everything fits together so well in the computer model, I wish builds went as smooth!
If I seem argumentative, I apologize. I like to explore many sides of an issue.
I love to be shown I'm wrong, after all, Dad always said to learn from my mistakes!
I love to be shown I'm wrong, after all, Dad always said to learn from my mistakes!
Re: LTD Power by Bagel
If you can't find a suitable tube for the displacer cylinder, find some acrilic/plexiglas/perspex sheet, cut a strip long enough to make the diameter required, put it in boiling water untill its soft (a heat gun might work, i have not tried that), wrap it around something, glue up the joint.
I'd tend to be a bit sceptical about using a joul-thief, any circuit in the set up uses some of the power generated. Even if you increase the voltage, you will lose watts, and may not have enough current to run the LEDs, Your better to make sure you have enough wire in the coils to get the volts. Look up a site about Hamster power on google, although a Hamster may have more power than your motor(specially if you feed it Bagels). Ian S C
I'd tend to be a bit sceptical about using a joul-thief, any circuit in the set up uses some of the power generated. Even if you increase the voltage, you will lose watts, and may not have enough current to run the LEDs, Your better to make sure you have enough wire in the coils to get the volts. Look up a site about Hamster power on google, although a Hamster may have more power than your motor(specially if you feed it Bagels). Ian S C
Re: LTD Power by Bagel
Thanks for the tip on bending acrylic, never tried that before. I tried cutting a bottle with a dremel yesterday. First cut went well (cutting, hot/cold water, cleaning up with grinder). Second cut, as soon as I poured on the hot water it sent stress fractures three directions. I did the cuts with the bottle rotating while being pressed firmly against the corner tiles in my kitchen (pretty smooth rotation), and the dremel on an oven-mitt for stability and vibration dampening. I may try again after building a jig, perhaps with a glass cutter instead of the dremel. There are tons of "smoke shops" here in Vegas, and they have some amazing custom glass work in them (for whatever use they claim). I know some of the glass is produced locally, so I'm hoping I can find a local glass blower that can make the displacer tube if I fail to be able to cut one.
The idea behind a joule-thief is to get power where none is normally available. You can use one on a "dead" AA battery to power an LED. It builds current in a magnet torus, and once enough is present to triger a transistor, it feeds the LED. This means the LED is not being continuously lit, but it happens at such a high frequency, the human eye cannot discern the flickering. I'll be trying it both ways to see what the effect is on engine performance, I think we both are assuming more resistance.
See anything obviously wrong in my initial design?
If I seem argumentative, I apologize. I like to explore many sides of an issue.
I love to be shown I'm wrong, after all, Dad always said to learn from my mistakes!
I love to be shown I'm wrong, after all, Dad always said to learn from my mistakes!
Re: LTD Power by Bagel
I'd go with a 3 phase dual disc axial flux alternator. I think you'll be able to make enough power to flicker the LED's and with a nice filtering capacitor that might not be an issue. Some LED's can glow at 3V and that should be easy to get.
R
R
Re: LTD Power by Bagel
Red LEDs require the lowest voltage. You can only get the amount of power out of any circuit that you put in, minus the losses in the circuit, you may have more volts for example, take a transformer, if you double the volts out, the current is halved, the total power stays the same (minus a small loss in the transformer). Ian S C
Re: LTD Power by Bagel
Funny thing is, the circuit will be the least of my worries. I found one of those hand crank flashlights at the dollar store today, it lights up two blue LEDs with a squeeze of a cam which activates a spinning magnet. I can work from it's circuit design to get working lights from very little current.
I took an internal temperature of a bagel fresh out of the oven today, and it reads 190-200F, giving me only about 100-120F as a working differential. I may have to fin the heat cap in order to get as much heat transfer as possible, as well as making certain the hot-box is super insulated between two sheets of stainless. Adding a small ice container to the cold plate may be necessary as well.
I'll definitely incorporate a regenerator into the displacer itself. Curious if anyone has attempted a hot cap scrapped to create attached steel wool on it's surface? Could be a simpler means of increasing surface area without brazing, though it may prove difficult to machine.
If I seem argumentative, I apologize. I like to explore many sides of an issue.
I love to be shown I'm wrong, after all, Dad always said to learn from my mistakes!
I love to be shown I'm wrong, after all, Dad always said to learn from my mistakes!
Re: LTD Power by Bagel
Beware of those little squeeze generators, some of the actually have batteries in them that
just power the light when the trigger is squeezed. I bought one and took it apart for a similar
purpose only to find the magnet generator was actually useless and there were several button
batteries hidden inside.
just power the light when the trigger is squeezed. I bought one and took it apart for a similar
purpose only to find the magnet generator was actually useless and there were several button
batteries hidden inside.
http://www.scraptopower.co.uk My web site, Stirling engines and AE stuff.
Re: LTD Power by Bagel
Thanks for the heads up Junkie. Yeah, it does have batteries for constant on, but the generator does work, I removed the batteries and applied a jumper to be sure.
Came home today to find my Airpot actuator arrived. Gotta say, the folks at Airpot know what they are doing, remarkably well engineered! Anyone happen to know what's in the con-rod's loop (the little red ring in the eyelet)? Rulon maybe?
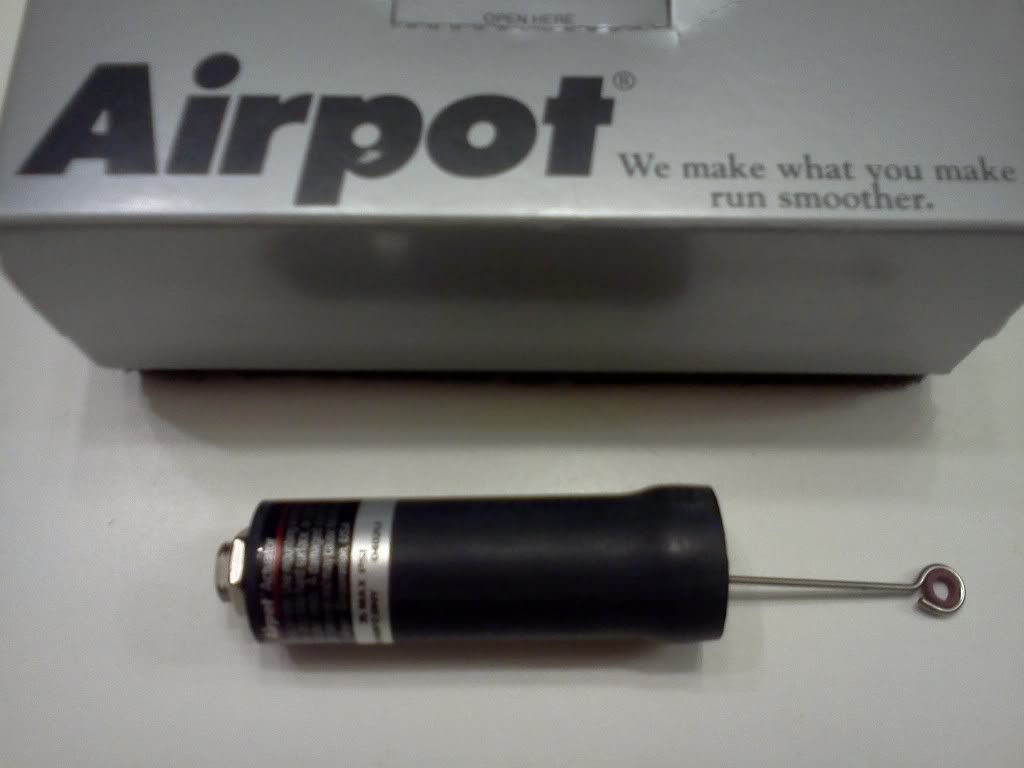
I have the stainless, the brass sheet, the actuator, and the flat acrylic. Still need to find the displacer tube, and a small bit of graphite for the displacer shaft seal. An employee at my local Lowe's who worked in the plastic industry for 15 years recommended I contact some fabricators locally. He thinks I can get what I need from their scrap for the displacer tube. At this rate, I should be ready to start the rough fabrication next week.
Came home today to find my Airpot actuator arrived. Gotta say, the folks at Airpot know what they are doing, remarkably well engineered! Anyone happen to know what's in the con-rod's loop (the little red ring in the eyelet)? Rulon maybe?
I have the stainless, the brass sheet, the actuator, and the flat acrylic. Still need to find the displacer tube, and a small bit of graphite for the displacer shaft seal. An employee at my local Lowe's who worked in the plastic industry for 15 years recommended I contact some fabricators locally. He thinks I can get what I need from their scrap for the displacer tube. At this rate, I should be ready to start the rough fabrication next week.
If I seem argumentative, I apologize. I like to explore many sides of an issue.
I love to be shown I'm wrong, after all, Dad always said to learn from my mistakes!
I love to be shown I'm wrong, after all, Dad always said to learn from my mistakes!
Re: LTD Power by Bagel
Here's a couple more pics of the parts I'm scrounging up. I'm attempting to use recycled materials, with the exception of the airpot power piston and cylinder.
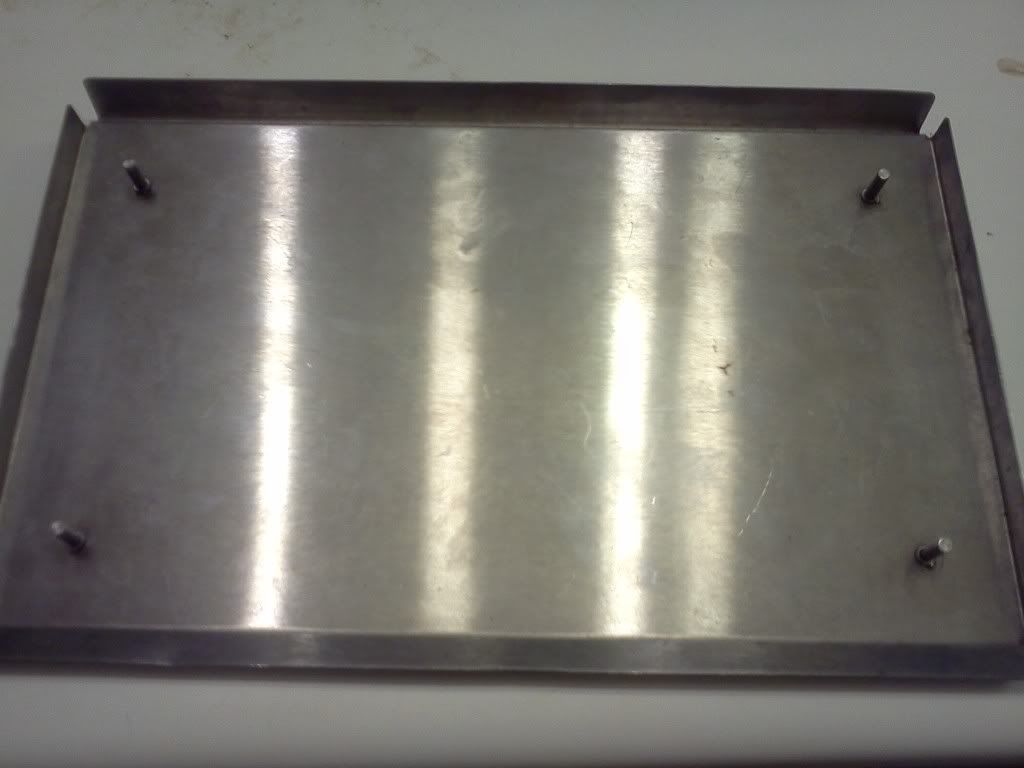
Stainless steel top from an old scale we used in the bakery. Will be cut down and folded to create the top, bottom, and back sides of the bagel hot box:
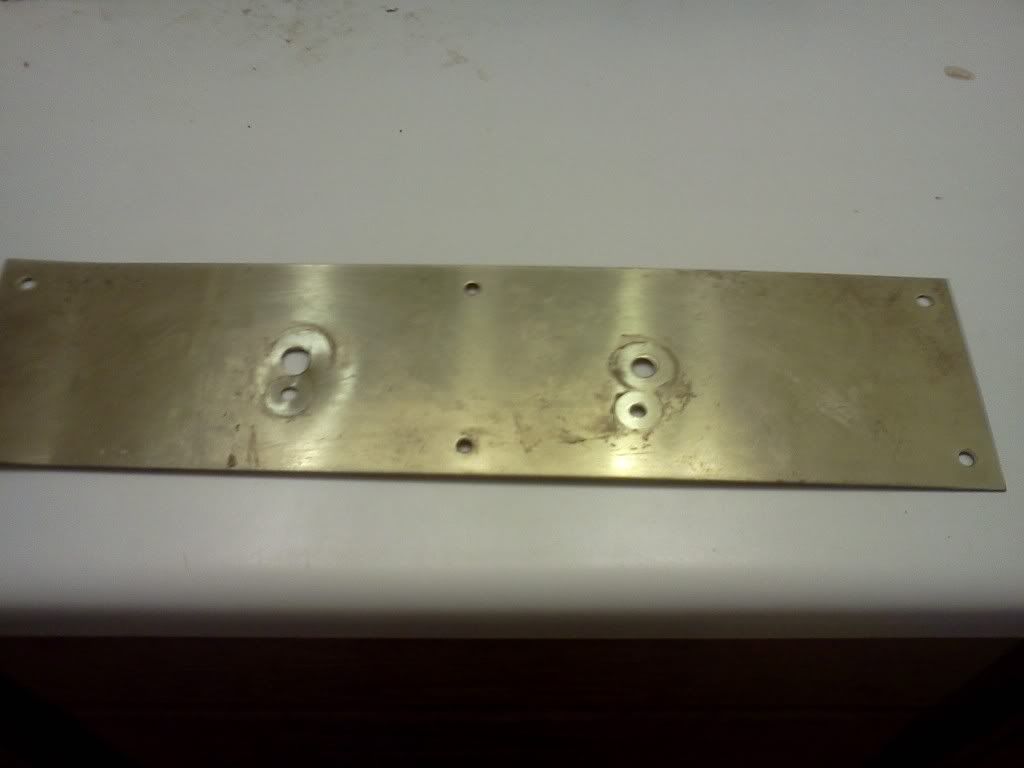
Brass back plate from an old door handle we hand left over after a renovation at the restaurant. Will be cut into the circular top plate, and luckily one of the holes is perfectly sized for the airpot, one less thing to drill:
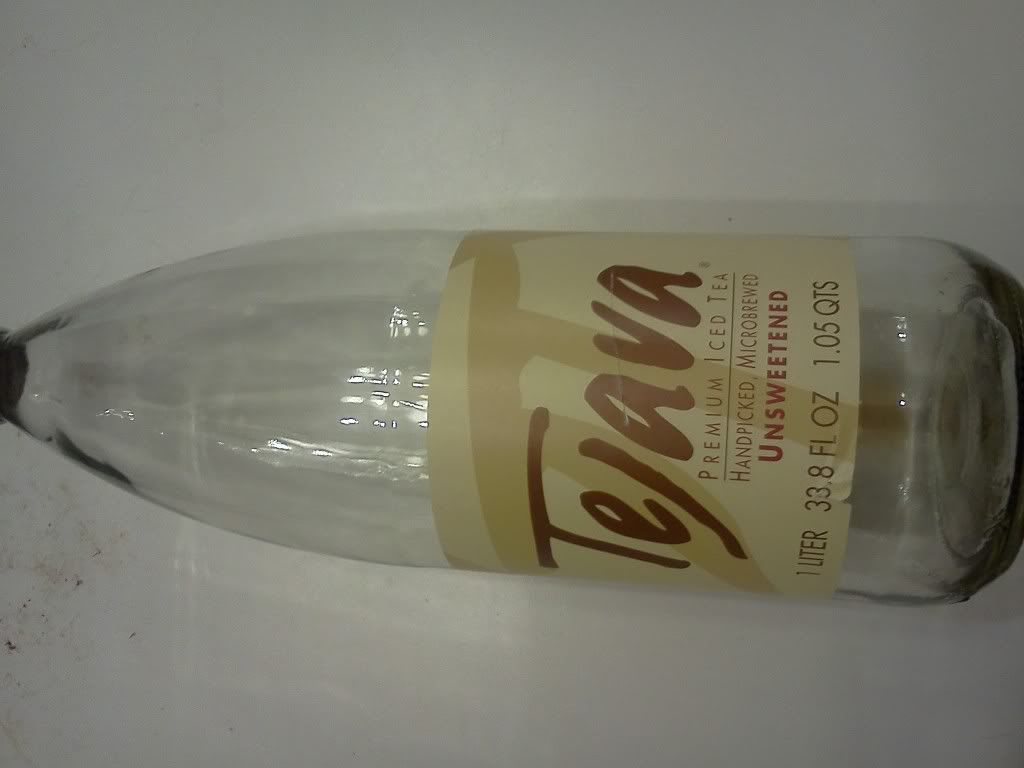
Bottle I will be cutting the displacer cylinder out of. Bottle cutting is a new skill set I'm working on, the second picture shows my first attempt without a jig, didn't quite get the score line straight. Will be building a jig this weekend to try to get a straight score line. Then it's a matter of spinning the bottle over a candle flame for 30 seconds, then rubbing ice on the crack, then repeating till it seperates.
I'm hoping to have time to work on the crankshaft as well this weekend, but I don't want to rush it, so may not get around to it till sometime next week.
Stainless steel top from an old scale we used in the bakery. Will be cut down and folded to create the top, bottom, and back sides of the bagel hot box:
Brass back plate from an old door handle we hand left over after a renovation at the restaurant. Will be cut into the circular top plate, and luckily one of the holes is perfectly sized for the airpot, one less thing to drill:
Bottle I will be cutting the displacer cylinder out of. Bottle cutting is a new skill set I'm working on, the second picture shows my first attempt without a jig, didn't quite get the score line straight. Will be building a jig this weekend to try to get a straight score line. Then it's a matter of spinning the bottle over a candle flame for 30 seconds, then rubbing ice on the crack, then repeating till it seperates.
I'm hoping to have time to work on the crankshaft as well this weekend, but I don't want to rush it, so may not get around to it till sometime next week.
If I seem argumentative, I apologize. I like to explore many sides of an issue.
I love to be shown I'm wrong, after all, Dad always said to learn from my mistakes!
I love to be shown I'm wrong, after all, Dad always said to learn from my mistakes!
Re: LTD Power by Bagel
Looking up the thermal conductivity of the SS thickness I have, I don't want to use it as the hot cap, so I'm going to use aluminum. Any suggestions on a good mating gasket material to prevent galvanic corrosion between the SS and aluminum?
If I seem argumentative, I apologize. I like to explore many sides of an issue.
I love to be shown I'm wrong, after all, Dad always said to learn from my mistakes!
I love to be shown I'm wrong, after all, Dad always said to learn from my mistakes!
Re: LTD Power by Bagel
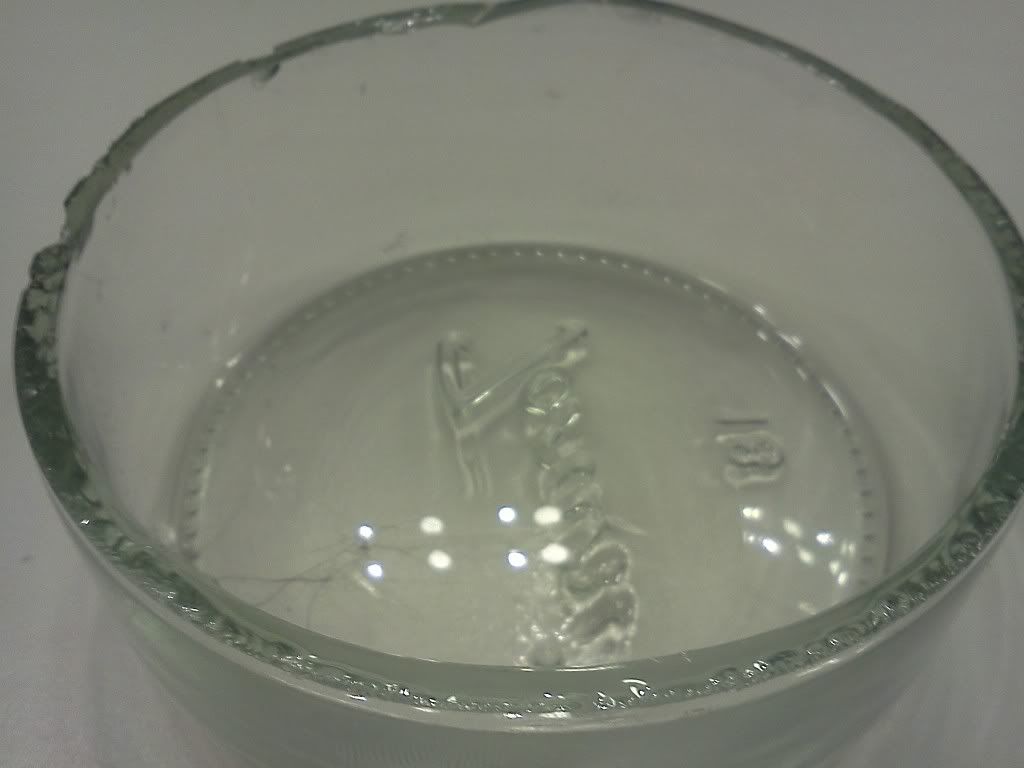
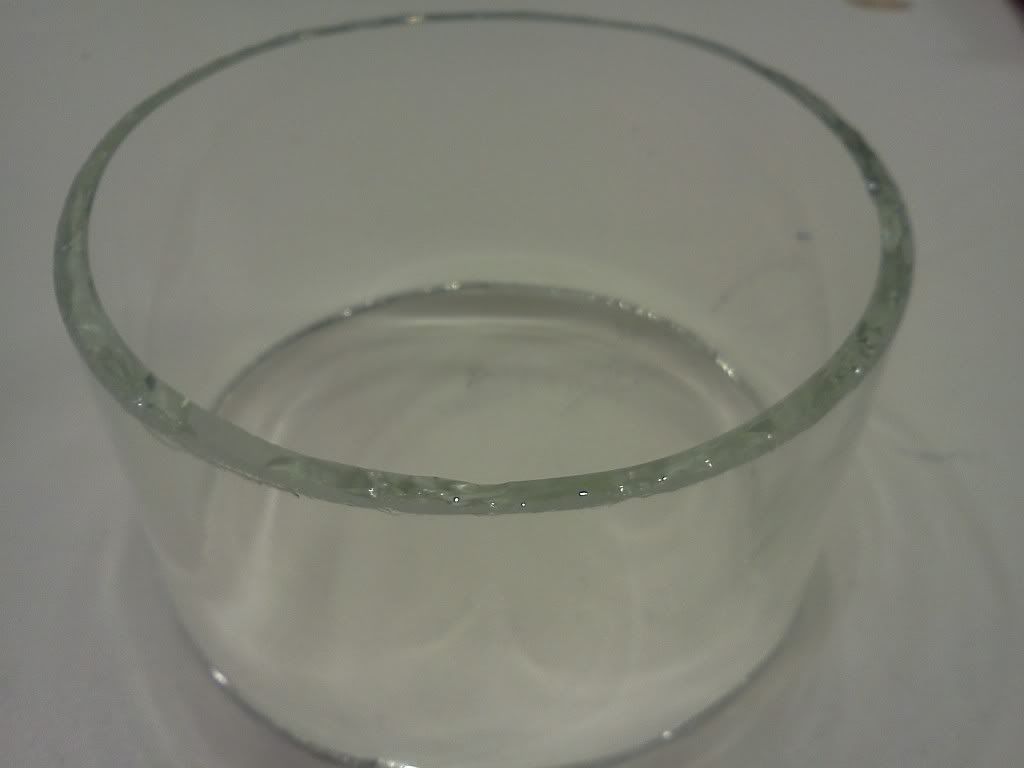
Spent the day trying various bottle cutting techniques. Tried the flaming string, score then inner tapping, score then hot/cold water, score then candle/ice. Of course, the last method I tried, score then candle/ice, gave the best results. To anyone else trying to cut bottles, save yourself some time/frustration:
1) Make a jig, you cannot hold the scoring tool well enough by hand, and be sure the cutting head is perpendicular to the glass at contact.
2) Press firmly and evenly as you rotate the bottle, you don't want to press too hard or you will end up with stress cracks later.
3) Only make a single score line around the bottle, multiple rotations also lead to stress fractures during seperation.
4) Use a large candle flame, or a very small butane torch flame (not a point flame).
5) Slowly rotate the bottle with the flame a couple of centimeters away, if you are scorching the bottle, move farther away
6) Remove the bottle from the heat, and rub ice along the score line
7) Repeat steps 5 & 6 till the bottle pieces pull apart, rotating bottle for 60 seconds, then icing for 10-15, took me an average of 5 cycles
8) Clean edges with very fine wet sand paper
Here's the results before cleaning up the edges (didn't have any fine grit, gotta go to the store in the morning):
BTW- I would suggest you only do one score line at a time, though I didn't try doing two scores at once, from what I experienced with the multiple failures I had due to stress cracks, I think multiple score lines could cause lateral stress fracturing during the candle/ice cycles.
If I seem argumentative, I apologize. I like to explore many sides of an issue.
I love to be shown I'm wrong, after all, Dad always said to learn from my mistakes!
I love to be shown I'm wrong, after all, Dad always said to learn from my mistakes!